How to prepare your mailings
A step-by-step guide
(Do not skip step 3)
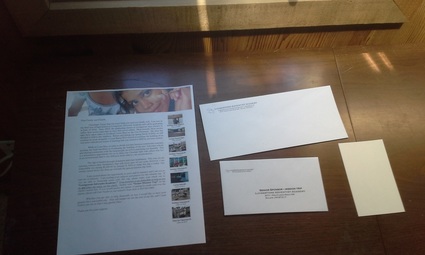
You will be provided with (or you will print yourself) the following items:
- The letters
- Big envelopes
- Small envelopes
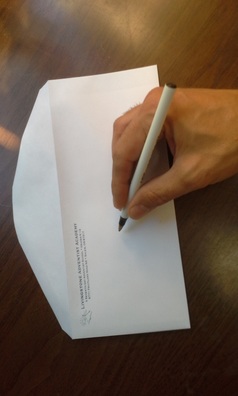
1. Sign the letter. Write a personal message if you wish.

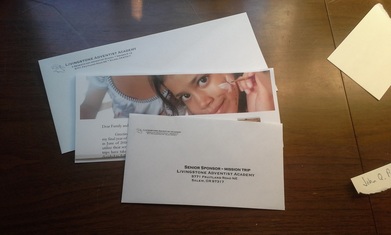
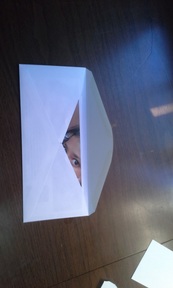
2. Fold the letter in thirds. I folded it so the little girl's face is on top.
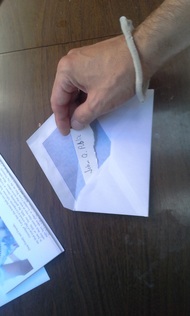
3. THIS STEP IS VITALLY IMPORTANT! You need to make sure that Pam knows whose account the money is supposed to be applied to.
You can accomplish this by several methods:
1) Write your name on the small envelope--preferably on the outside.
2) Take a little slip of paper and write your name on it (see picture below). Put it inside the small envelope.
(The pipe cleaner bracelet was made for me by my daughter, by the way)
Put a stamp on the small envelope! They will appreciate it.
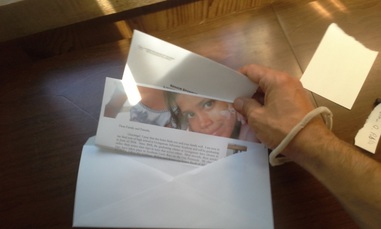
4. Put the small envelope and the letter into the big envelope. Again, I oriented it so the face looks out at you.
5. Write the person's name and address on the envelope. (This could be done earlier, or by printing labels)
6. Seal, stamp, and send.
PLEASE MAKE SURE YOU KEEP RECORD OF ALL THE ADDRESSES! In the case that your person doesn't supply an address, the school will need addresses to send tax receipts.
PLEASE MAKE SURE YOU KEEP RECORD OF ALL THE ADDRESSES! In the case that your person doesn't supply an address, the school will need addresses to send tax receipts.
